| 일 | 월 | 화 | 수 | 목 | 금 | 토 |
|---|---|---|---|---|---|---|
| 1 | ||||||
| 2 | 3 | 4 | 5 | 6 | 7 | 8 |
| 9 | 10 | 11 | 12 | 13 | 14 | 15 |
| 16 | 17 | 18 | 19 | 20 | 21 | 22 |
| 23 | 24 | 25 | 26 | 27 | 28 | 29 |
| 30 |
Tags
- development
- RESTful
- Web
- oracle
- Database
- springboot #controller #jsp
- 웹개발
- Oracle11g
- restapi
- SpringInitializer
- apache
- postman
- 스프링시큐리티
- mysql
- tcping
- sqldeveloper
- mssql
- 스프링부트
- ojdbc
- HATEOAS
- Developer
- Maven
- springboot
- 환경변수
- undefined
- IntelliJ
- install
- 스프링부트 #springboot #project #Intellij
- Tomcat #SpringFramework
- SpringSecurity
Archives
- Today
- Total
여백에 도장 찍기
Spring Boot 시작하기. 본문
"Spring boot는 Spring Framework 를 더 빠르고 쉽게 사용할 수 있도록 도와주는 툴입니다."
>>> 지금부터 Spring Boot 프로젝트를 생성하여 보겠습니다.
Create Project
1. https://start.spring.io/ , Spring Initializer 사이트에 접속하여, 손쉽게 프로젝트를 생성할 수 있습니다.
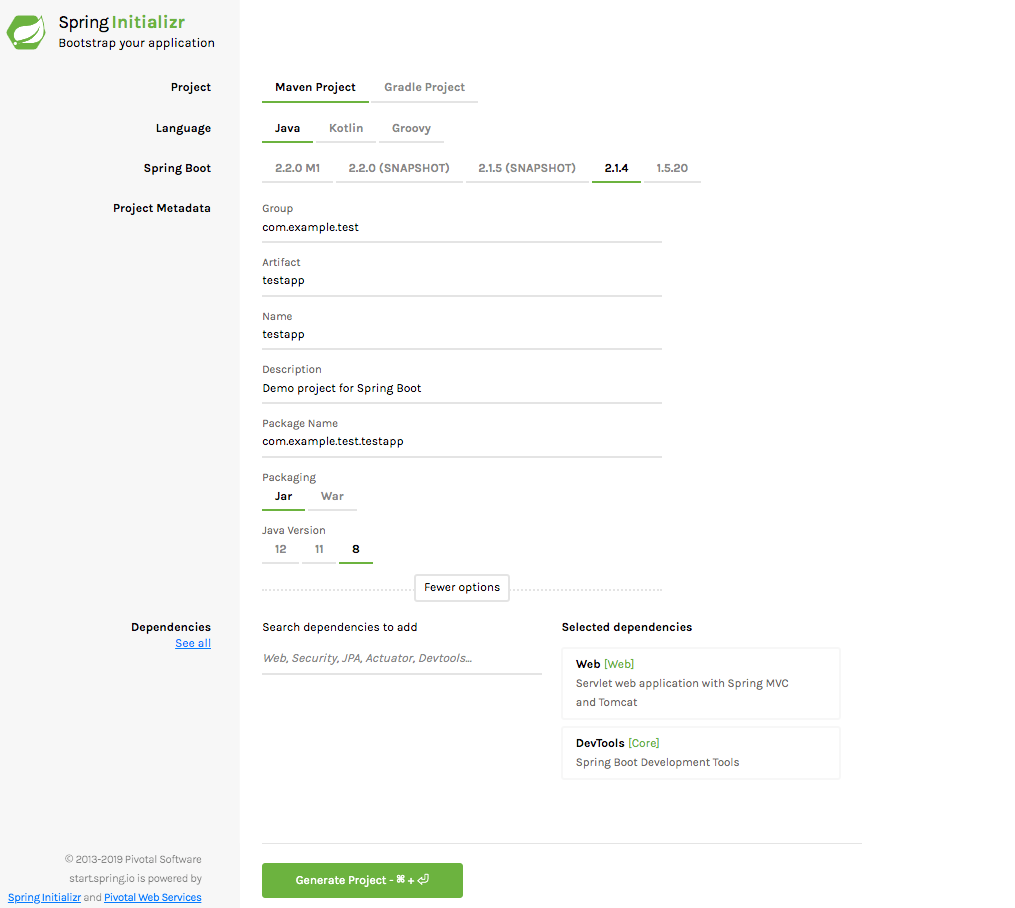
설정을 마친 뒤, Generate Project 를 누르면 Local PC 상에 testapp.zip 파일이 생성됩니다.
2. 개발툴인 Intellij 에서 해당 zip 파일의 압축을 푼 디렉터리를 Import 합니다.
Import 하고자 하는 디렉터리는 쉽게말해, pom.xml을 포함하고 있는 상위디렉터리를 선택하면 됩니다.
Select 'Maven' > Next
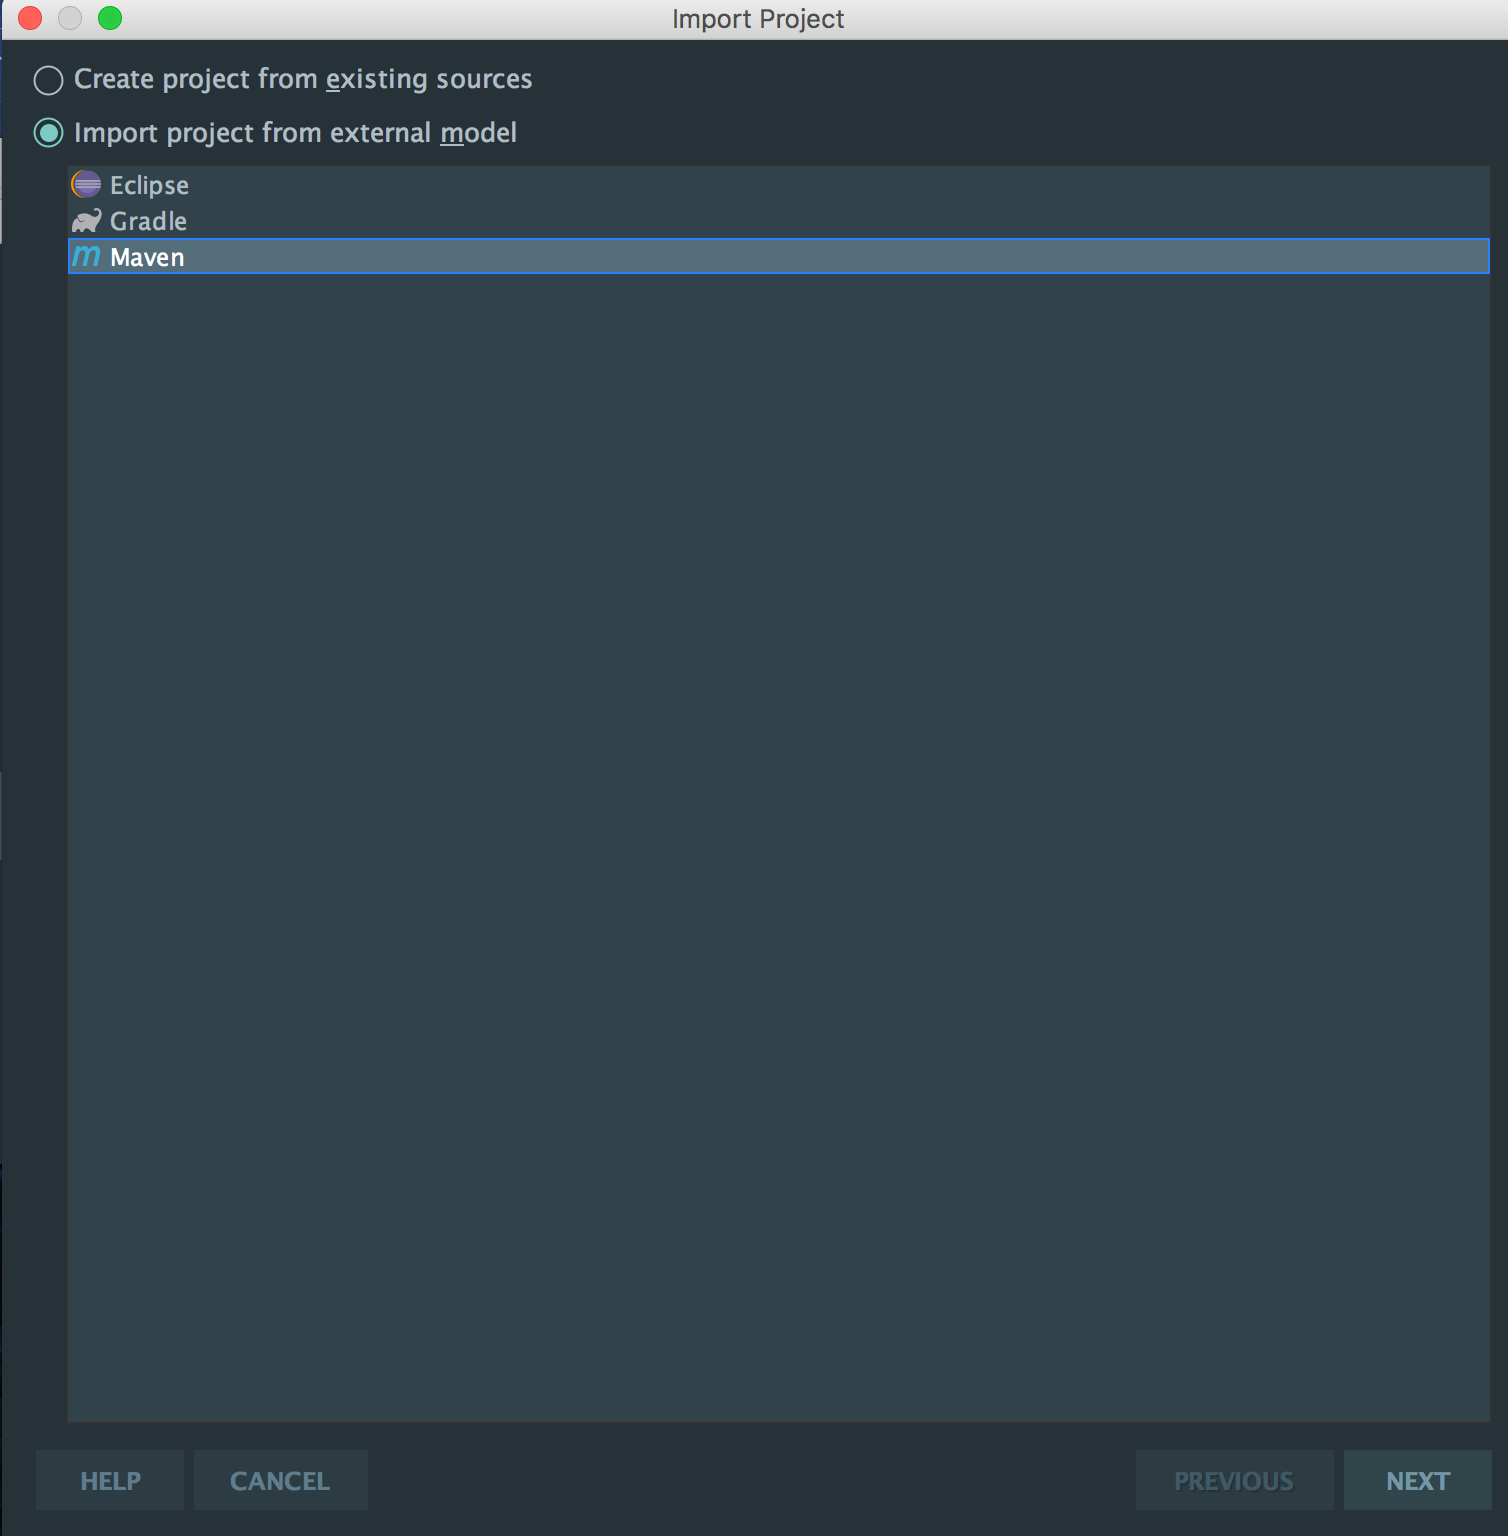
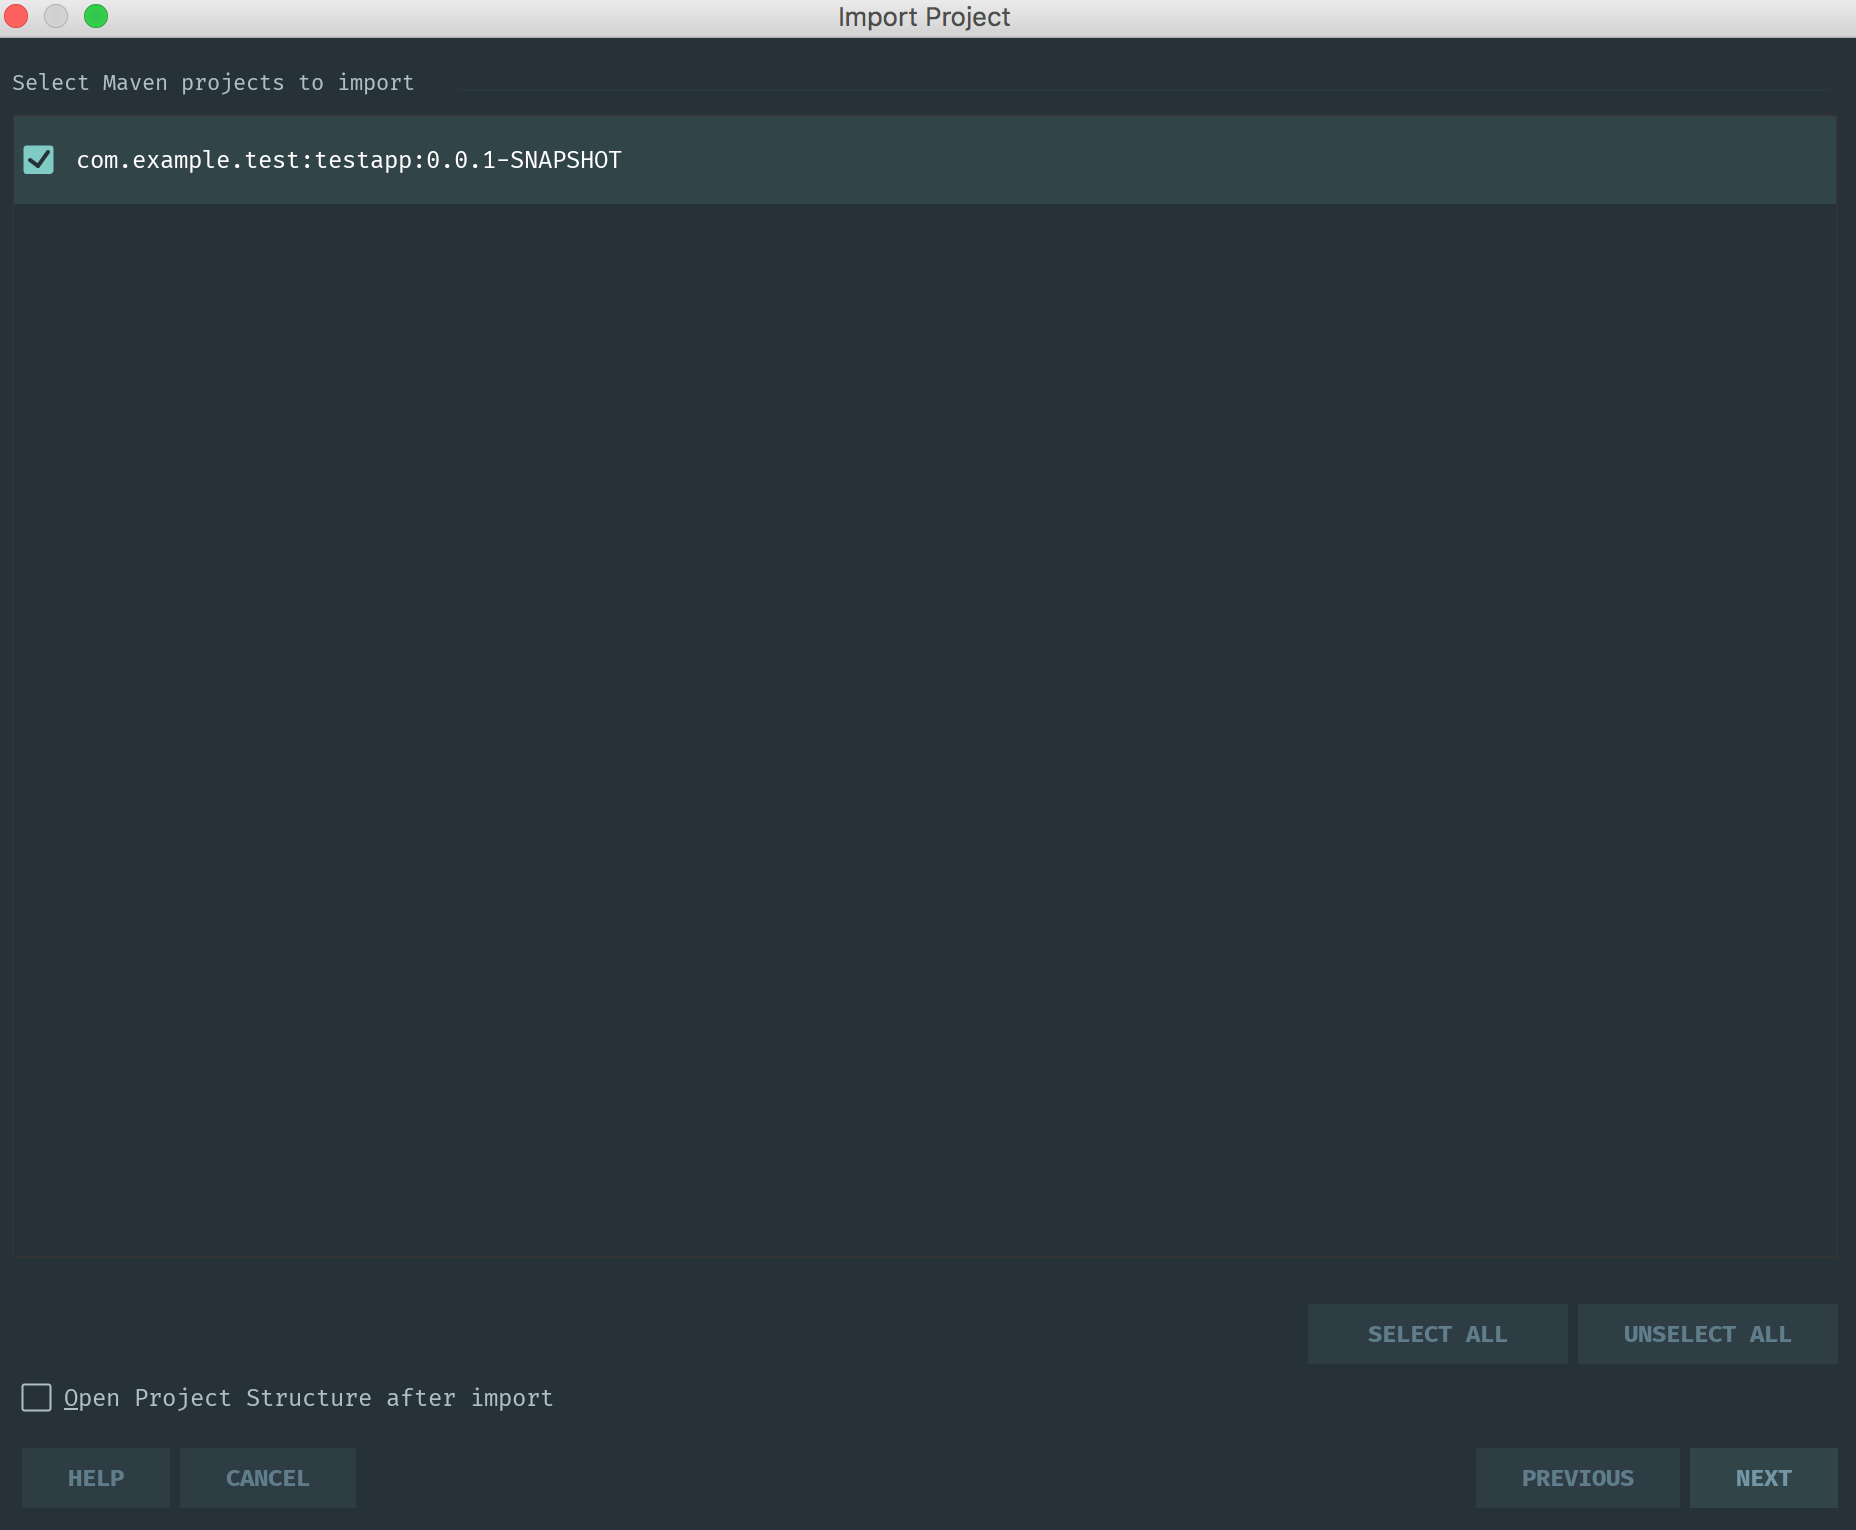
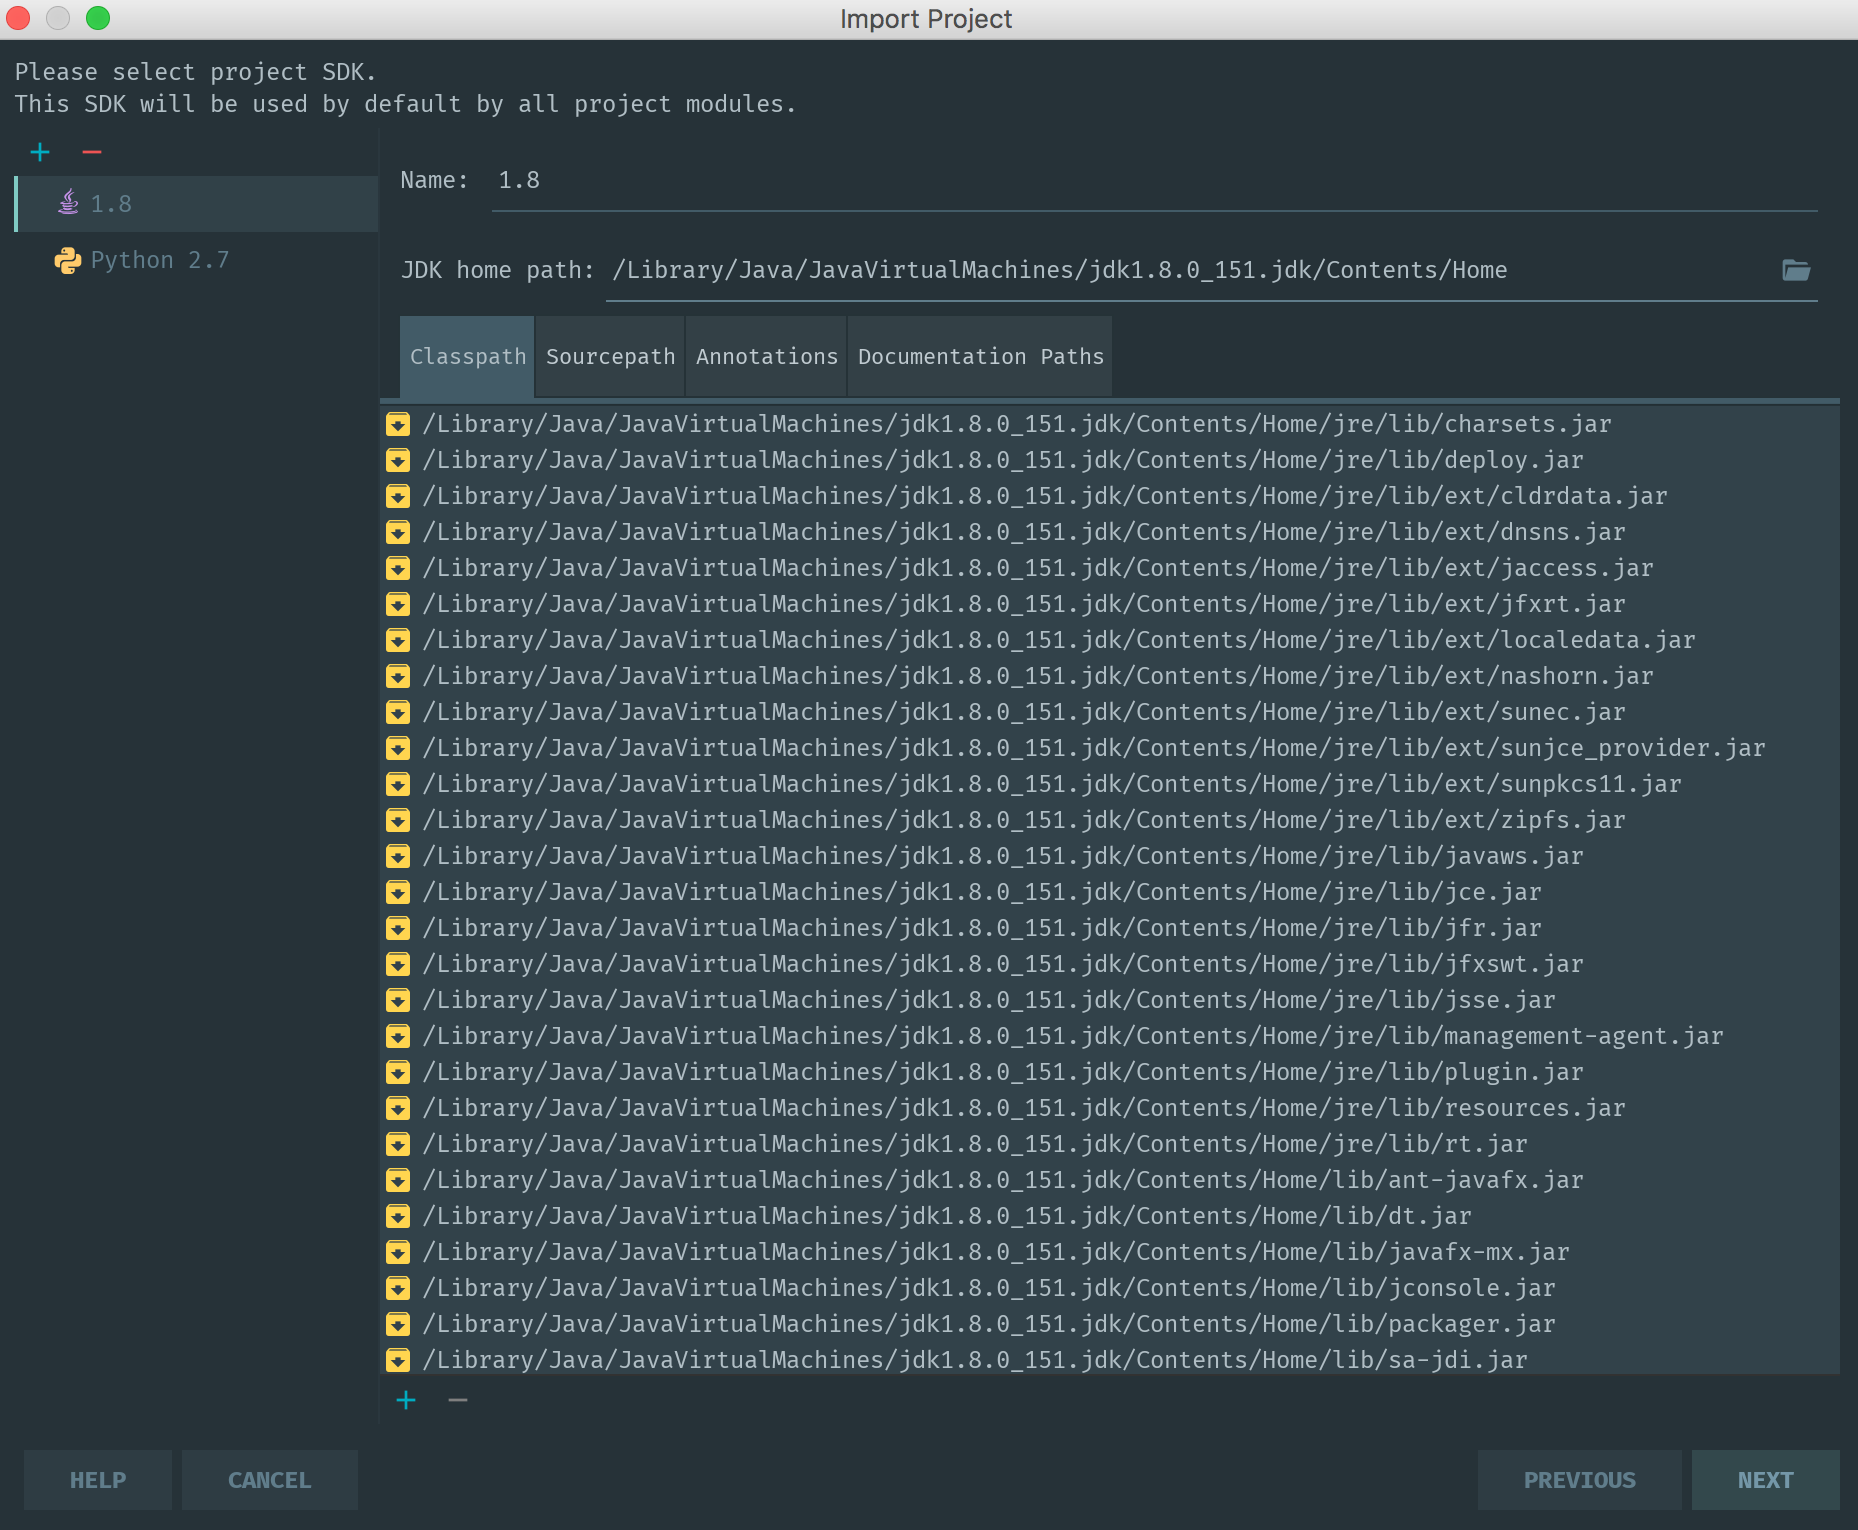
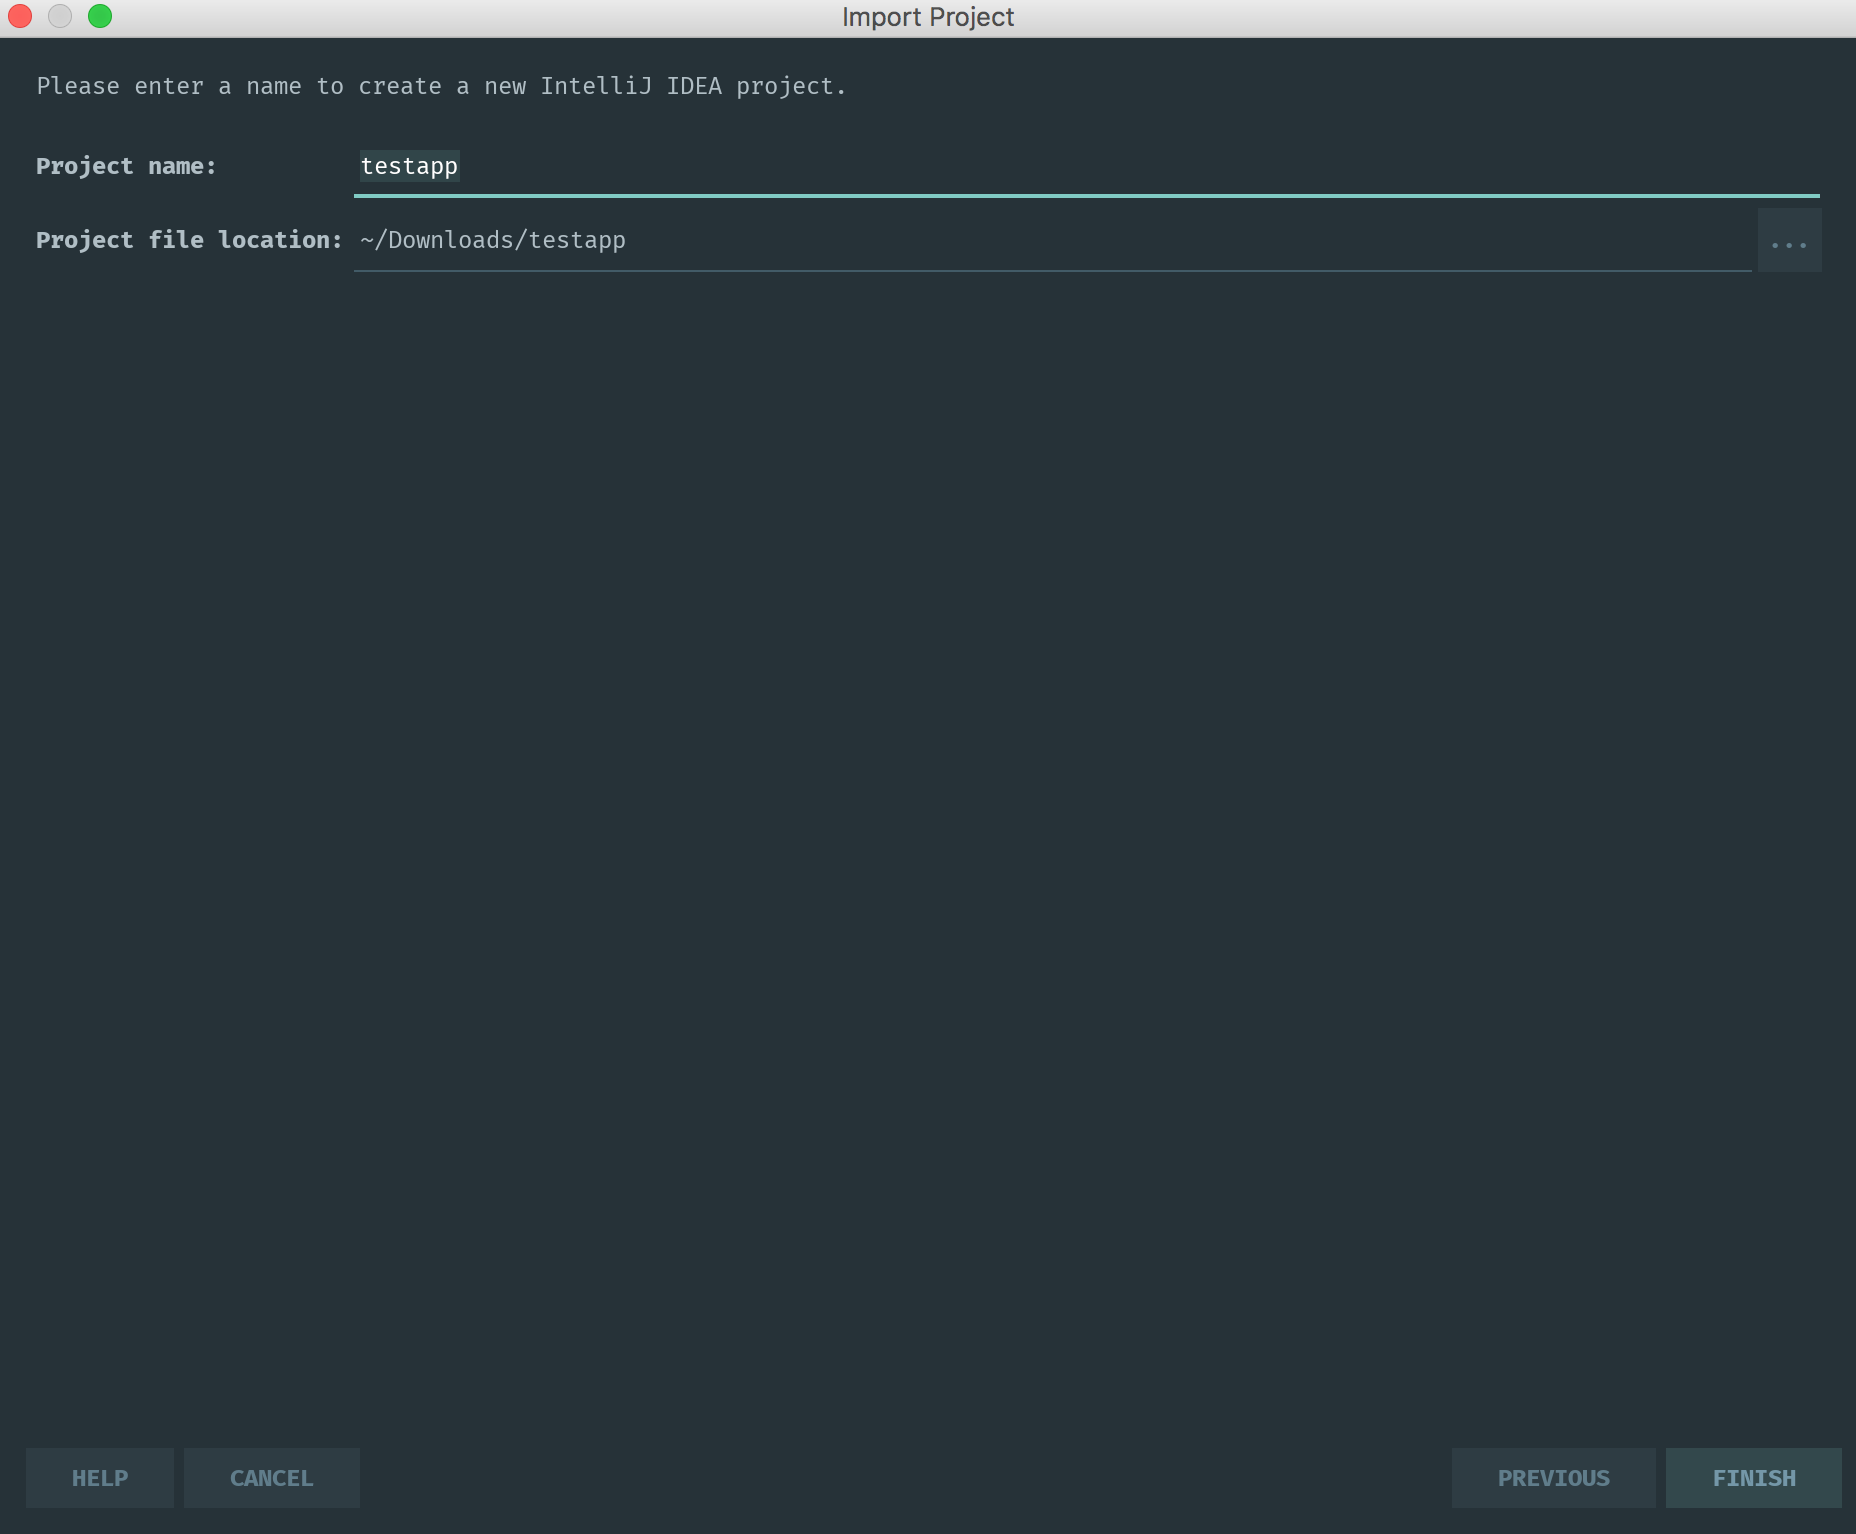
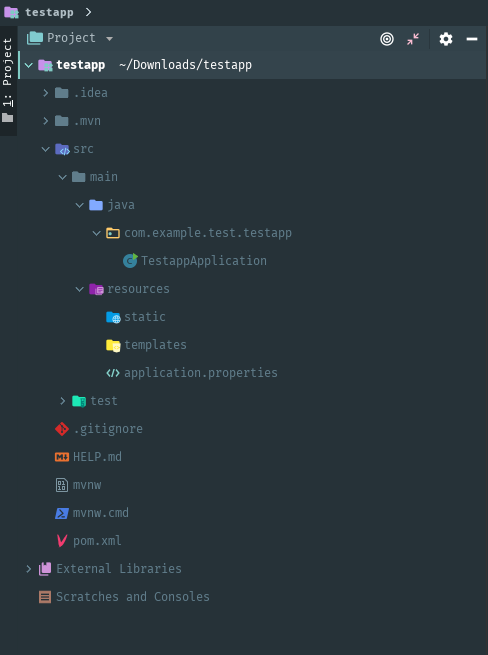
3. 생성된 디렉터리는 다음의 구조를 갖습니다.
2. Run Server
/src/main/java/com/example/test/testapp/TestappApplication


3. http://localhost:8080 접속
'Web Framework > Spring Boot ' 카테고리의 다른 글
| Spring boot - MSSQL 연동 설정 (0) | 2019.07.04 |
|---|---|
| Spring Security - configure method override (0) | 2019.07.03 |
| Spring Boot - 웹 디렉터리 생성 및 설정 (0) | 2019.07.03 |
| Spring Boot 프로젝트 생성 (IntelliJ) (0) | 2019.06.28 |
| Spring boot - Controller JSP Return 하기. (0) | 2019.04.12 |
Comments


